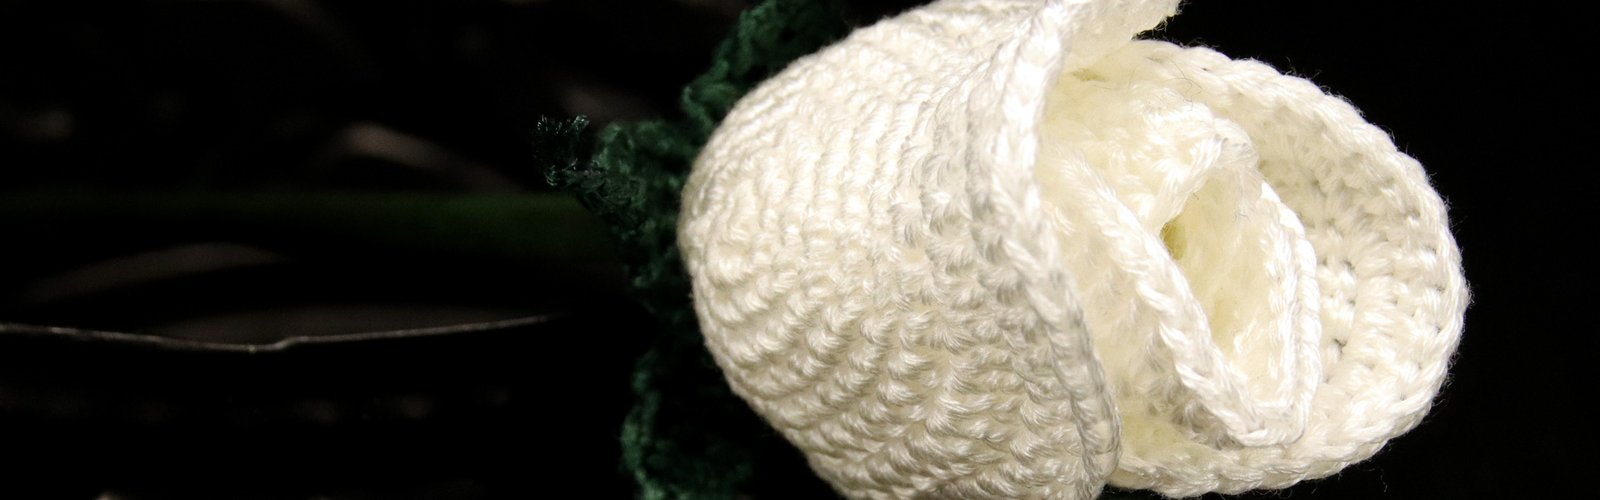
Beginner Crochet: Ten More Tips to Enhance Your Hobby

In August of 2016 I wrote Beginner Crochet: Ten Tips I Wish Tutorials Had Taught Me after I felt I had more or less progressed beyond the very baseline learning phase of the hobby. Since then I’ve been working on improving my existing skills as well trying new things and have picked up another ten tips I’d like to share!

Note: Although several products are recommended in this post, there are no affiliate links.

1. Yarn Winders Rule

Despite having grown up with a mother who has knitted quite prolifically, I’d never really heard of yarn bowls and things like that. She usually kept her working skein in a bag or just plopped it on the sofa beside her. Occasionally shenanigans ensued when the skein bounced away or an enterprising pet decided to try to abscond with it, but otherwise, seeing yarn flopping around as more was pulled off the outside was normal to me and I figured that’s just how everybody worked.

Once I started crocheting, I started to hear more and more about yarn bowls. They’re exactly what they sound like: a bowl the working yarn is placed in. The idea is that the bowl will keep the yarn from escaping to the floor or otherwise misbehaving. They’re very artistic and can make a great addition to a home’s décor. I thought about getting one but so far have not come across one I really like. Plus, they can be expensive, although there are DIY options too. Overall, this accessory just doesn’t tickle my fancy (at least not yet).

In contrast, not long ago I read this tool review from PlanetJune about yarn winders. What the heck is a yarn winder? Like with yarn bowls, it wasn’t something I’d ever heard of until I started crocheting. I thought maybe it was something people used to make yarn (but no, yarn is made with spinning wheels or spindles). Turns out, a yarn winder is a tool for making yarn cakes, either from skeins or hanks.

Stanwood Needlecraft Ten Ounce Yarn Winder

Hanks need to be wound into a “ball” or skein in order to avoid yarn barf and rat’s nest tangles while working, while skeins are already wound but frequently become floppy messes as they’re used. Problem is, winding yarn by hand into a sphere puts tension on the yarn that can ruin it through undesirable stretching. (Ever tried to squish a ball of hand wound yarn? Bet it feels hard like a tennis ball. That’s bad.) This might not be such a big deal if using cheap acrylic to make amigurumi, but expensive fiber blends for garments? Yikes. There’s a reason skeins are somewhat loose and squishy at point of purchase rather than dense enough to knock out teeth.

There are other advantages to making your own cakes: the cakes are flat on the top and bottom which makes storage and stacking easy. Center-pull means the cake sits still while being worked with (so no need for a yarn bowl). A yarn winder also means you can easily make your own multi-color cakes in any combination you desire, which this article from Heart Hook Home shows is quite a bit more cost-effective in the long run.

I have a lot of yarn now, especially Bernat Blanket for my temperature blanket. The skeins, being round and huge, are not easy to stack or store. Several times I’ve come home to find my mountain of yarn has collapsed all over the floor. Being able to do something about that, more than anything else, is what led me to ask for the Stanwood Needlecraft Ten Ounce Yarn Winder for Christmas. BEST YARN GIFT EVER. Seriously! The ten ounce makes some pretty big cakes, even with the blanket yarn. (There are other winder sizes available but I’m so so glad I asked for, and received, the big one.) It was easy to put together and is easy to use. I clamp it on my living room coffee table and wind yarn while watching a DVD or chatting with friends—it’s actually fairly relaxing to listen to the low hum of the gears going around and around while the yarn feeds through my fingers.

Since Christmas I’ve wound nearly all my floppy skeins and a good portion of the not-so-floppy ones. Working with cakes rather than skeins or balls has made such a huge difference that I honestly can’t imagine how I got by before. I wound all of my mother’s blanket yarn too… Not long after, I got an excited phone call from her about how excellent it is to work with yarn that sits so nicely.

Get one. You’ll thank yourself, I promise.

2. Safety Eyes Made Easy

Safety eyes can add so much personality to amigurumi. Problem is, getting the safety eyes locked into the safety washers can sometimes require a declaration of war and black hole gravity-level forces! Smaller safety eyes in particular are the worst, probably because they have such a tiny amount of surface area to grab versus fingers that are considerably larger.

Wooden safety eye insertion tools

What’s the solution? I picked up these insertion tools from Glass Eyes Online and haven’t had to summon supernatural levels of hand or finger strength since. They are exactly what they sound like: tools for inserting the safety eye into the washer. The ball end of the tool fits in the palm of the hand which allows force to be exerted more easily on the washer. Occasionally there’s still a stubborn eye that just doesn’t want to accept its washer, but overall the insertion tools go a long way toward avoiding strain and pain in the hands. The tools are simple and sturdy, and the wood is nicely sanded so there are no worries about getting splinters.

3. Everybody Needs A Guide

The internet contains a wealth of information, and Google usually makes finding information easy, but even so, nothing beats having a reference book on hand. For crocheting on the go, or just when you want to stay unplugged, being able to refer to a physical book can save the day when you just can’t remember how a stitch works or otherwise come across something new.

The Crochet Handbook & Stitch Guide
The next best thing to the Hitchhiker's Guide...

I was gifted a copy of the Crochet Handbook and Stitch Guide. It’s an amazing little book! It fits well into a tote bag or large purse, has colorful and clear pictures, and covers both written stitch instructions, US and UK terms, and chart symbols. Not only that and the usual info about equipment, yarn, and basic crochet stitches, the book covers squares, circles, intarsia, lace (including hairpin lace), filet, broomstick, and Tunisian crochet, how to block, seam, make button holes, embellishments and appliqués, edging, braids, fringe, tassels, and cords… On top of all of that it has fifty-three pages of patterns in a “stitch and block directory”. Much more than I ever expected to find in a single guide of this size! I often have this book open beside me when I need a refresher. The spiral binding means it sits flat which is also convenient.

4. Invisible Seams

Handmade objects, done well, can easily become heirloom items whether they are toys, garments, or blankets. A problem some people run into when making these things are the seams, and nothing wrecks the overall aesthetic of a handmade object faster than an ugly, puckered seam. It also seems that seaming is the least favorite part of creating an item for many people, probably because it’s time-consuming and boring. Rushing the job is not a great idea though: seams done poorly can contribute to the item falling apart sooner than it ought to, certain areas becoming twisted or misshapen, or simply making a wearable item uncomfortable. Nobody likes having a rough seam digging into their skin!

Personally, I like the look of a finished item where the seams are hardly noticeable, whether to the eye or by feel. The book I mentioned above does cover some traditional methods of seaming, and those techniques do have their place, but the mattress stitch is a good alternative for garments, squares, blankets, and things of that nature. This video tutorial from Moogly shows how easy it is and how the seam appears to disappear:

For amigurumi, June from PlanetJune has developed a fantastic joining technique which also results in a seam that is virtually invisible. See her right-handed tutorial here:

5. Block All the Things

Amigurumi doesn’t need to blocked (though I have made some finished pieces damp in order to assist with shaping or folding) but garments? Absolutely! Even blankets can be helped by blocking. Some people block on their kitchen table, counter, or even on their floor or bed (with towels laid down) but what if none of those are an option? Use interlocking foam mats! I have a set of the ones pictured at right, which were fairly inexpensive at the hardware store.

Blue foam mats.
Foam mats are great for blocking.

A set of four will lock together to create a surface large enough for most projects. More would be needed if wanting to block a bed-sized blanket. Of course, a set of stainless steel pins are a must as well, else the object won’t stay in place.

A word of caution: I’ve read that some people who purchased interlocking children’s playmats experienced color transfer from the bright primary-colored foam to their projects. Yikes! Whichever brand or type of mat you buy, be sure to do a test with some throwaway yarn first, or put an old towel between the mat and your project.

6. Ultimate Finish in the Round

Using a magic circle to start amigurumi (or any project that begins in the round) is an excellent technique to avoid an unsightly hole. But what about finishing? Closing up the project at the end can be a bit tricky and if not done well can leave a bump or other unsightly appearance to the work. Thankfully, June at PlanetJune once again comes to the rescue with her ultimate finish for amigurumi:

7. It’s Knot Magic

Sooner or later, all good skeins must come to an end. Or, maybe the working yarn has a bad section partway through that has to be cut out. Or, maybe you’re making your own multi-color cake because you picked up a yarn winder! Either way, the job of joining the same or new yarn onto the project or a tail end remains. There are multiple ways to do it, but a technique I’ve come to prefer is the magic knot. Knotions has a Magic Knot Tutorial that describes the process in seven easy steps. Anyone who’s ever gone fishing will find this knot familiar!

The Knotions tutorial states that the magic knot isn’t for precise changes in color. I’ve actually found it can be used to change color exactly where it needs to be changed—it just takes a bit of practice, familiarity with how much yarn is required for X number of stitches prior to where the color change is needed, and then a bit of fiddling with the knot placement before trimming the ends. Try it!

8. Mystery Yarn Weight No More

Mystery yarn occurs for many reasons: the ball band was torn, tossed, or lost; yarn leftovers were received as gifts without bands; it was inconvenient to keep the ball band with the leftovers… Attempts can be made to identify the yarn by consulting with fiber friends, comparing it to other similar skeins, and so on. Yarn with unique features or colorways can sometimes be pinned down that way, but the brand and colorway of more generic-looking yarn will probably always remain a mystery. At that point, so long as there’s enough yarn for a project, all that really matters is knowing what the yarn weight is before getting started. Determining correct yarn weight is also important when what the manufacturer’s label says can’t be trusted (looking at you, Red Heart Unforgettable!). Using the incorrect weight usually leads to regret later, unless keeping gauge isn’t important.

An easy trick to figure out yarn weight is to use wraps per inch. Since this can come up at any time, keep a pencil or ballpoint pen (one with about the same thickness as a pencil) as well as a short ruler or measuring tape in your craft supplies! Check out Determining Yarn Weights With Wraps Per Inch from Craftsy to learn how to do it. I particularly like the chart in this article as it clearly categorizes each weight of yarn with no overlap in the wrap ranges.

9. Chart Your Own Course

Now and then on Ravelry, Reddit, and other places, some pretty awesome finished objects make the rounds, like this crochet video game blanket. How are patterns like these made? It’s not like the game devs spend their free time converting game logos and character images into patterns for fiber artists to pick up. So, maybe by trial and error, or maybe by using a spreadsheet, but there is an easier way! Check out this Turn an Image/Photo into a Chart tutorial by Lucy Hague for details.

Of course, just about any kind of image can be used so long as it will convert well in the image editor. The image doesn’t necessarily have to be desaturated either depending on what other filters are available in the software being used and if a color printer is available. Depending on how much fine detail (or what finished size) is desired, one square on the grid can either equate to one stitch or one granny square. A larger image with a finer grid on it will avoid too much of a 16-bit appearance in the finished object. This also means that a really ambitious person could use cross stitch patterns as well!

This technique opens up a world of possibilities for making projects customized to suit the tastes of friends, family, and the public. Try it!

10. Make More Fiber Friends

Ravelry is great as a resource and a community (so many forums to keep track of!) but I had a desire to connect to other people in a more immediate way. Thanks to the magic of Google, I discovered there are crochet groups on Discord. Discord is an “all-in-one voice and text chat for gamers that’s free, secure, and works on both your desktop and phone” but it doesn’t surprise me that non-gaming communities are using it too.

This isn’t to say that the crafters on these servers aren’t also gamers—many of them are! There are folks of all ages, backgrounds, and locations in the two groups listed at right. This lends well to a variety of topics being chatted about as well as a multitude of different projects being shared. These are both English-speaking communities. See you there!


I hope these tips help make your crochet hobby better and more enjoyable! Be sure to share any other tips you have in the comments below.

6 Comments

  • Monique

    Thanks for linking to my post! I loved that project so much

  • Dr. Gracie

    There is some really useful stuff in there. I had no idea about the safety eye tools but now I need them!

  • jody

    great list!

    awesome that you’ve been able to use the Magic Knot for exact color changes! you’re right (obviously) it *can* be used that way! it just takes a little knowledge and fiddling :)

Leave a Reply

Your email address will not be published. Required fields are marked *

This site uses Akismet to reduce spam. Learn how your comment data is processed.